PS美妆人像精修案例详解
发布时间:暂无
1.在PS中打开素材,进入【Camera Raw】滤镜。
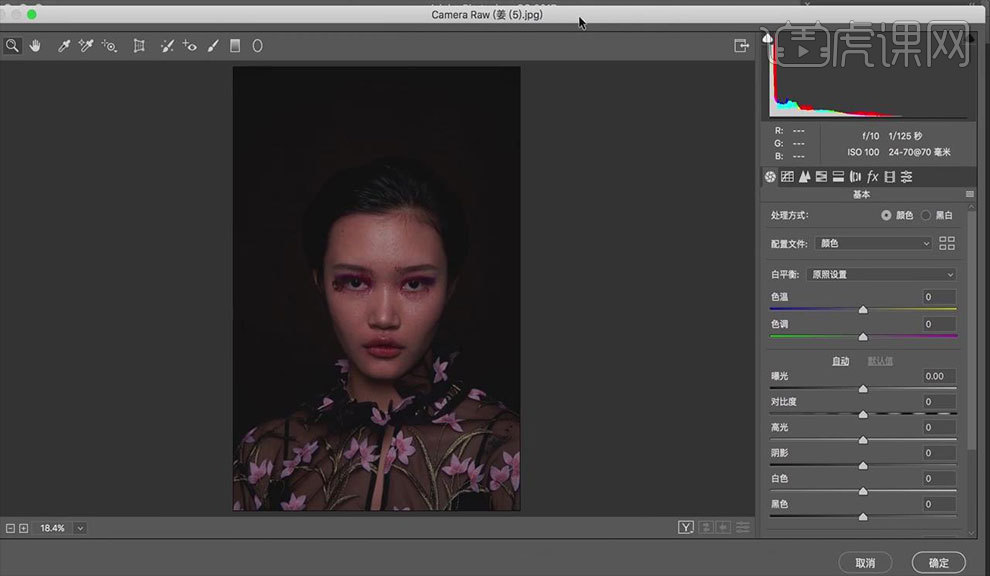 2.调整【基本】的参数,具体如图所示。
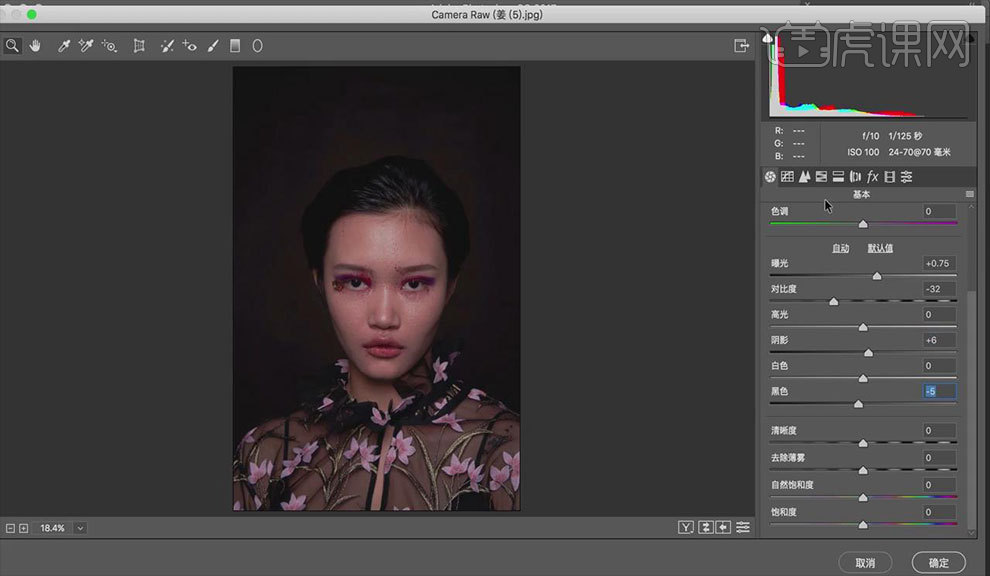 3.进入【HSL调整】中调整,具体如图所示。
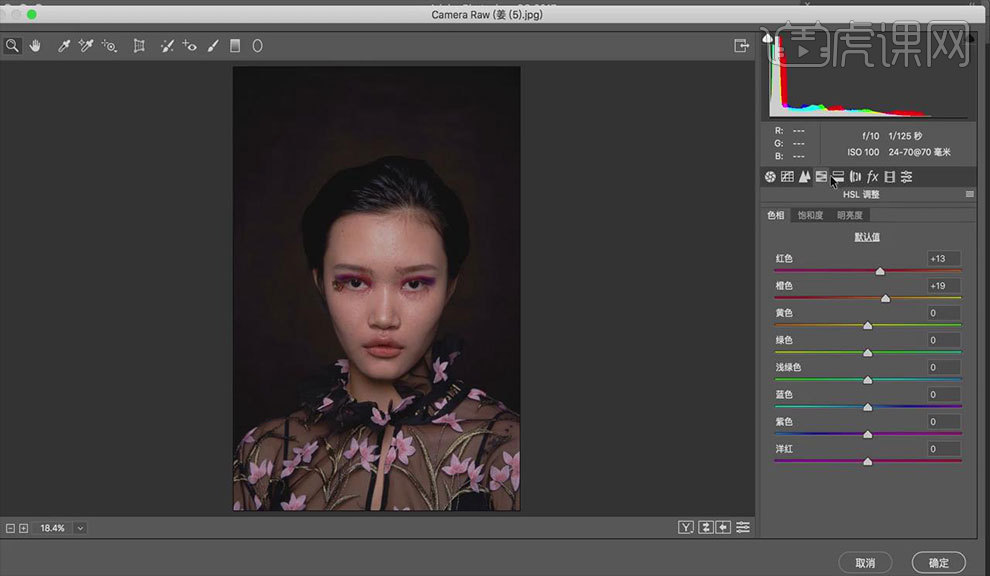 4.调整【校准】中的参数,进入【HSL调整】明亮度中黄色为+57,具体如图所示。
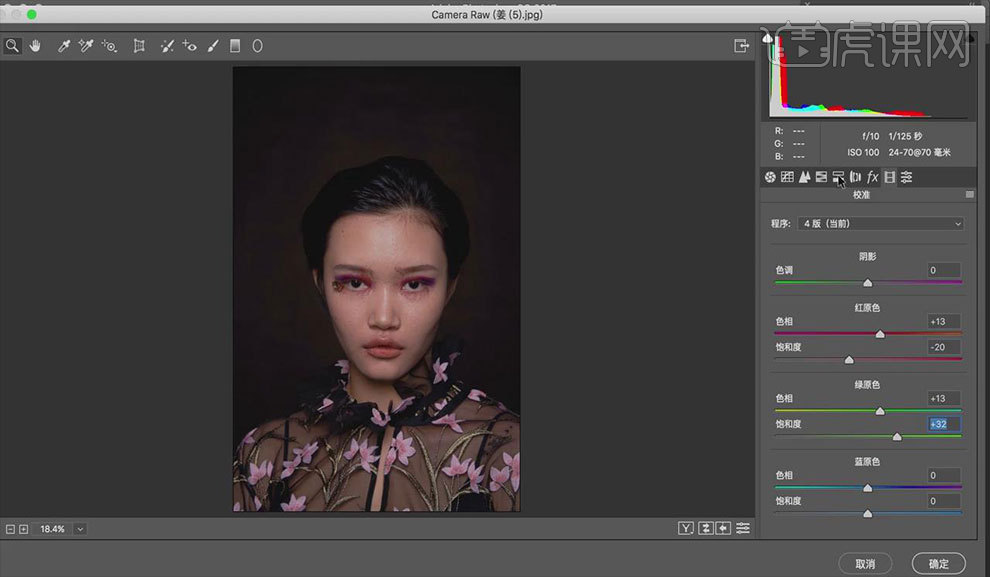 5.打开图像,按【Ctrl+Shift+X】液化,对人物进行调整,具体如图所示。
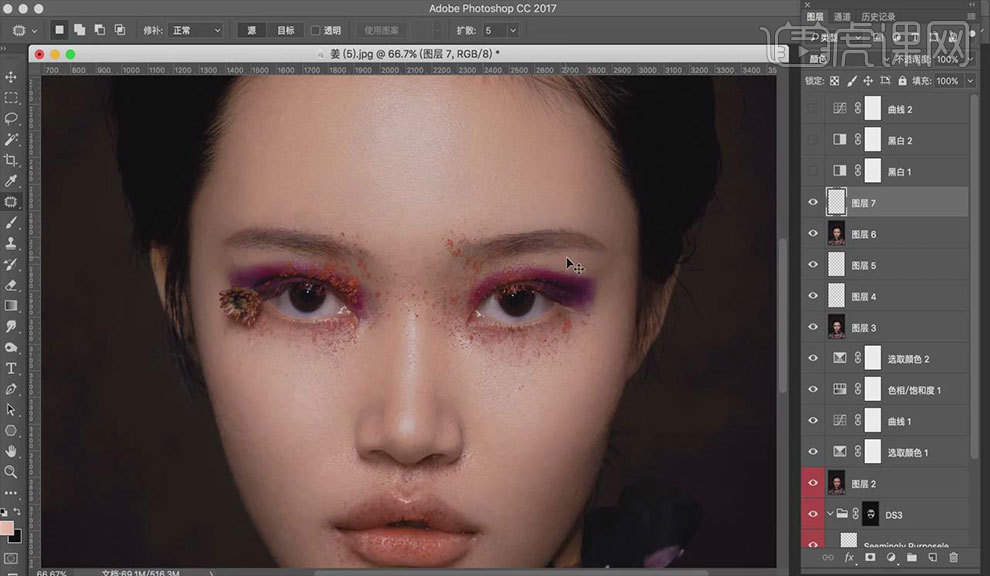
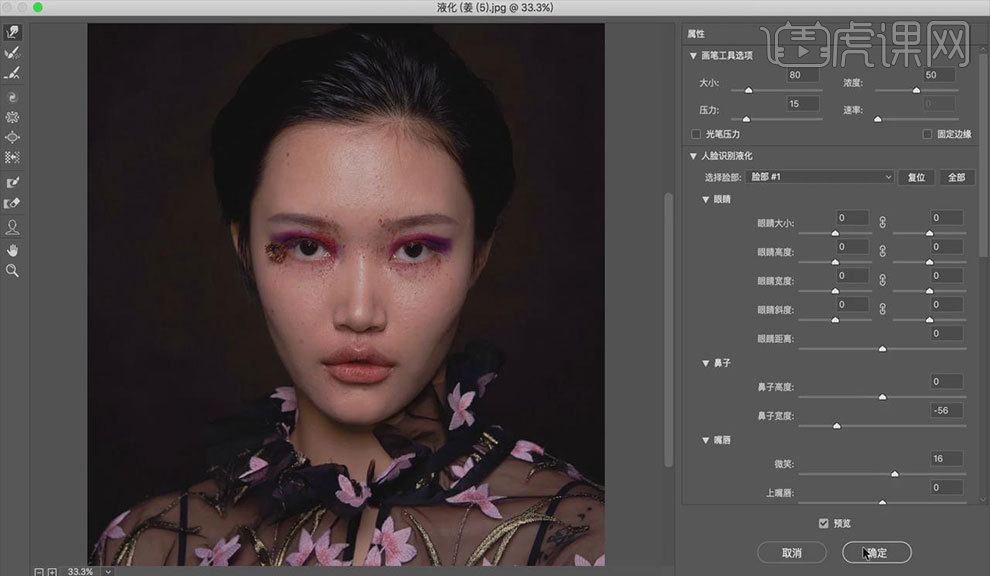 6.用【修补工具】修饰脸上的瑕疵,具体如图所示。
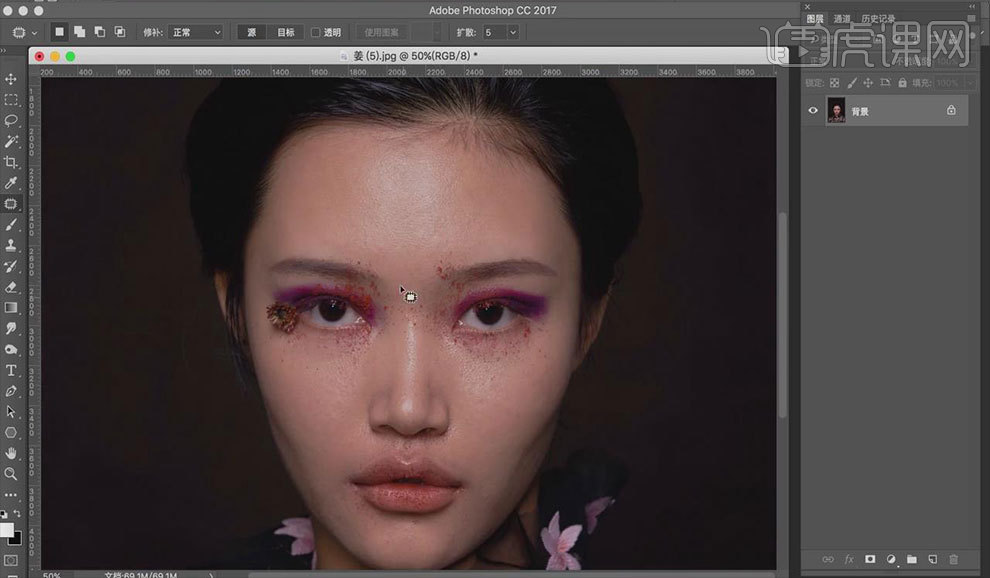 7.【Ctrl+J】复制图层,选择【窗口】-【扩展功能】-【Delicious Retouch Plus】-【完美肌肤】用画笔工具修饰细微的瑕疵,具体如图所示。
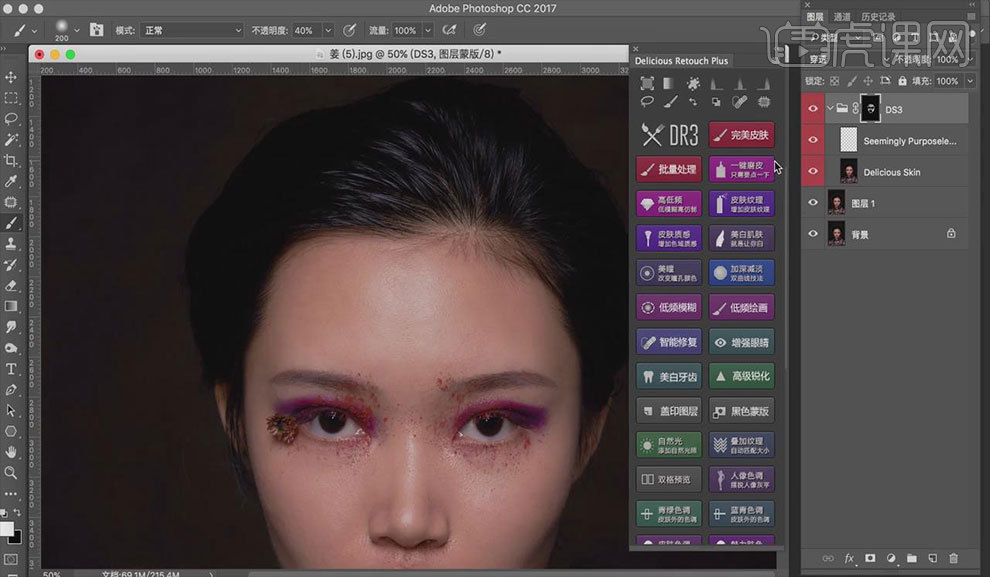 8.新建【可选颜色】调整参数,具体如图所示。
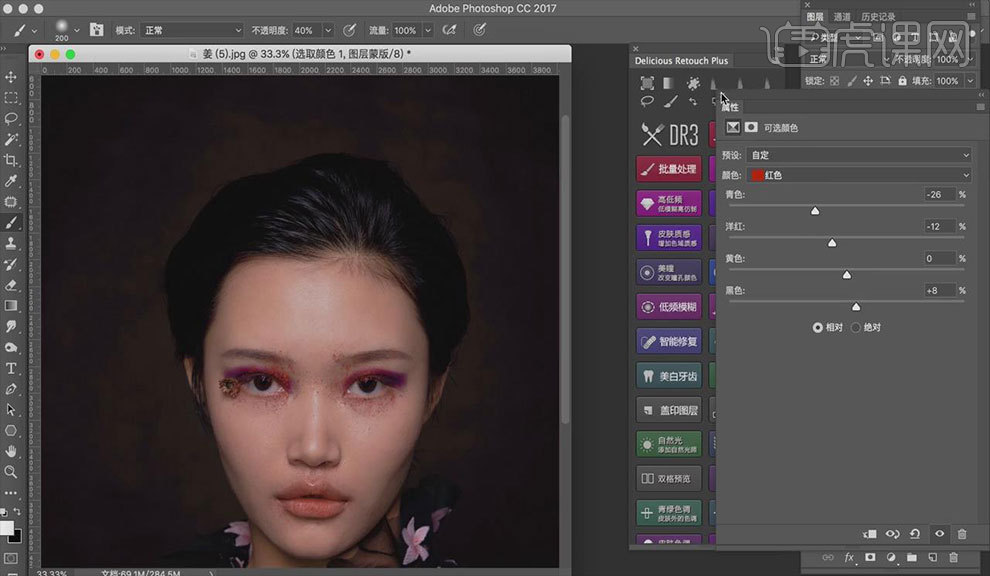 9.创建【曲线】调节参数,具体如图所示。
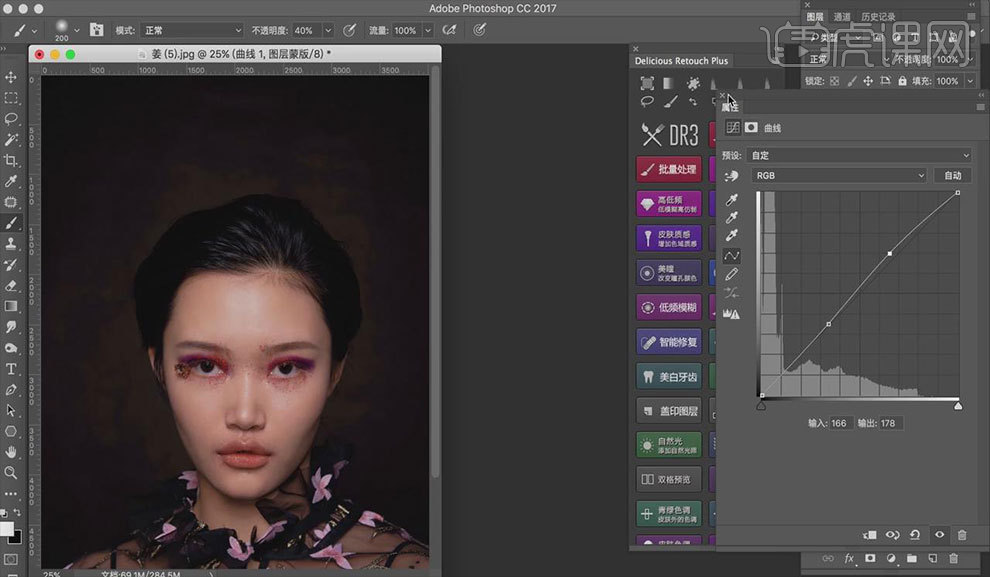
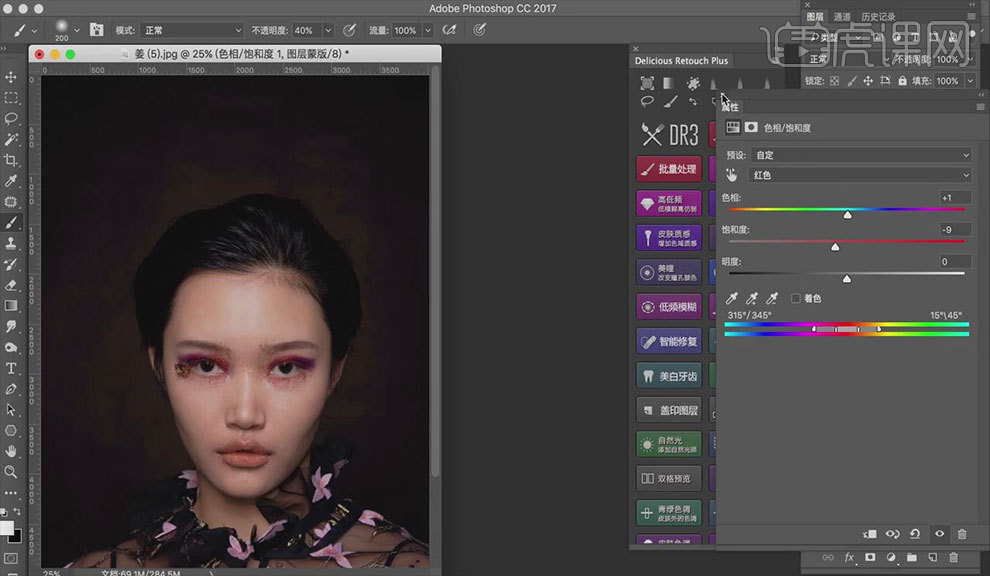
10.创建【色相/饱和度】调整头发的颜色,具体如图所示。
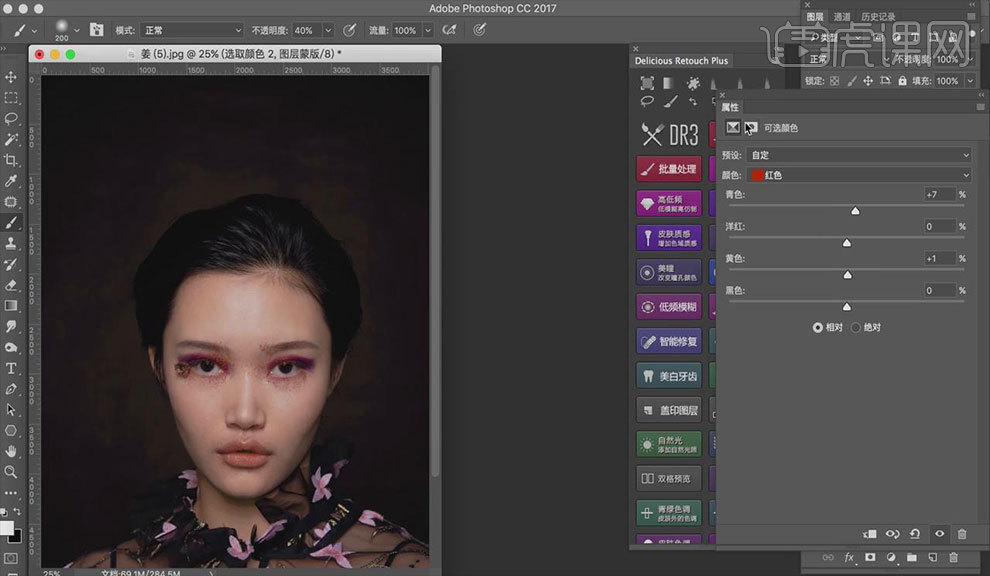
11.新建【可选颜色】调整参数,具体如图所示。
 12.【Ctrl+Shift+N】新建图层,模式选择柔光,新建【黑白】和【曲线】图层,选择【画笔工具】修饰脸上的瑕疵,具体如图所示。
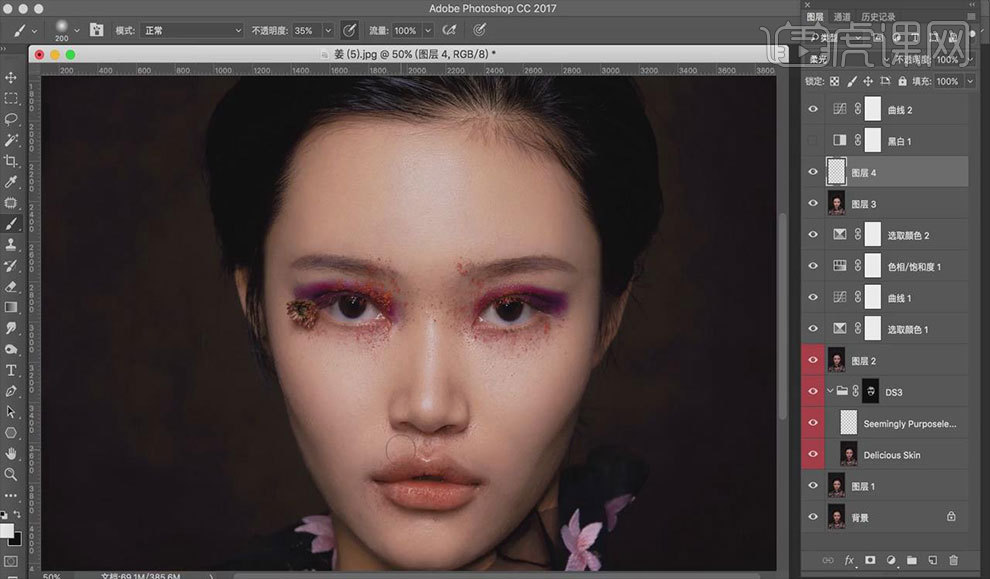 13.【Ctrl+Shift+N】新建图层,模式选择柔光,新建【黑白】和【曲线】图层,修饰脸颊两侧,具体如图所示。
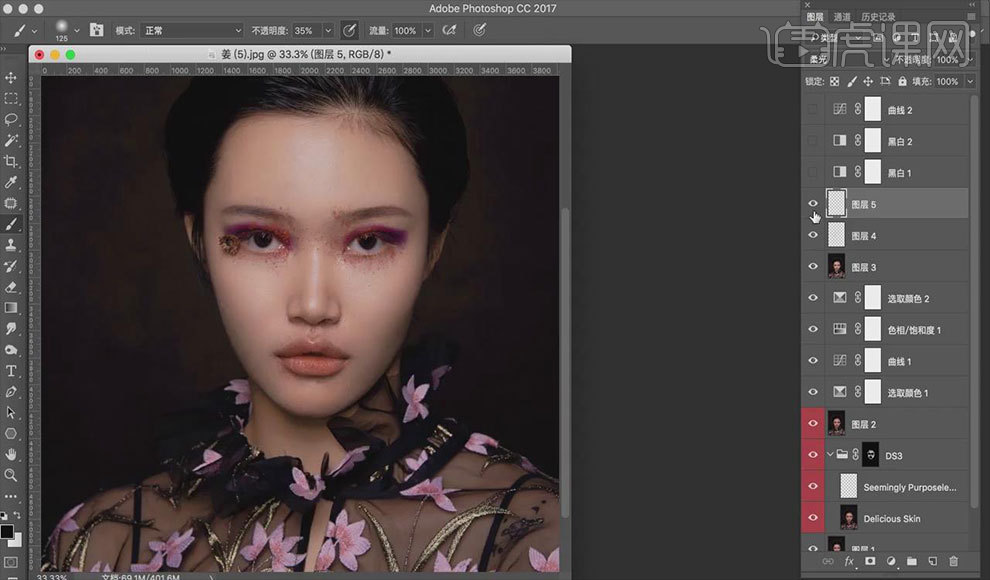
14.按【Ctrl+Alt+Shift+E】盖印图层,【Ctrl+Shift+N】新建图层,模式为颜色,前景色吸取皮肤的正常颜色,用【画笔工具】修补脸部的颜色。效果如图所示。
 15.【Ctrl+Shift+N】新建图层,用【画笔工具】添加脸部的光影,效果如图所示。
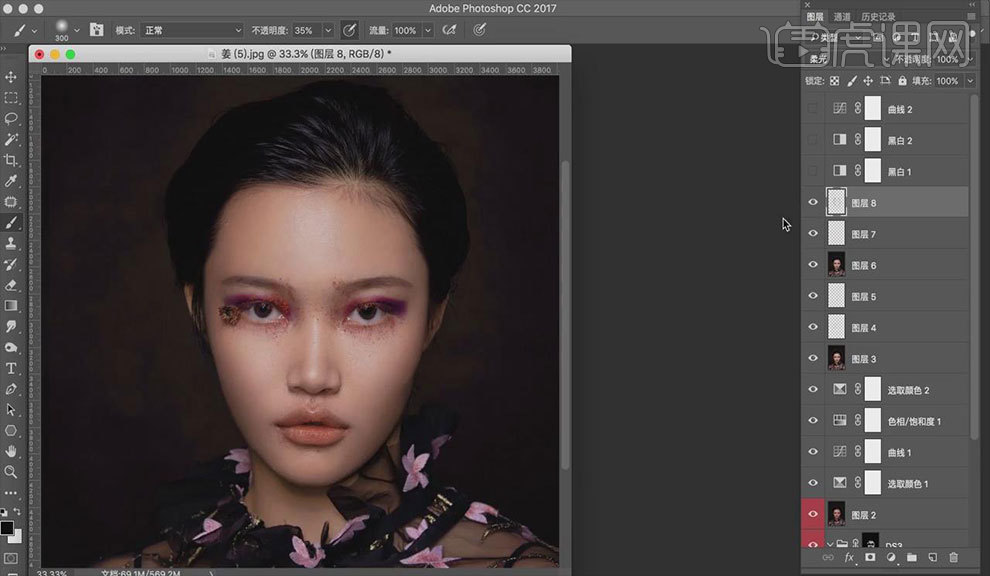 16.按【Ctrl+Alt+Shift+E】盖印图层,创建【照片滤镜】,滤镜选择冷却滤镜(82),不透明度修改为26%,效果如图所示。
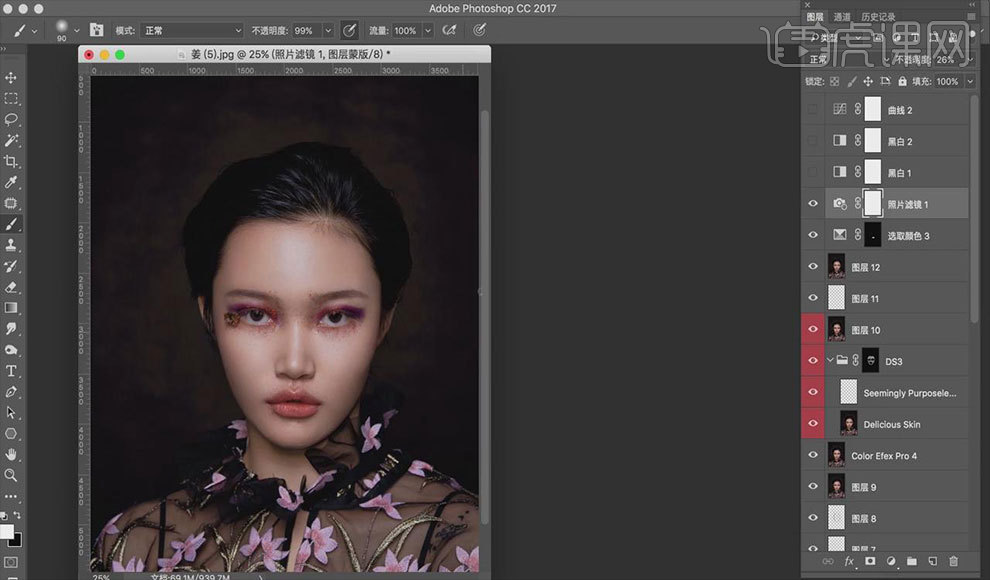 17.创建【颜色查找】,文件选择2395,不透明度为50%,效果如图所示。
 18.创建【可选颜色】【曲线】【色彩平衡】进行调整图片颜色,具体如图所示。
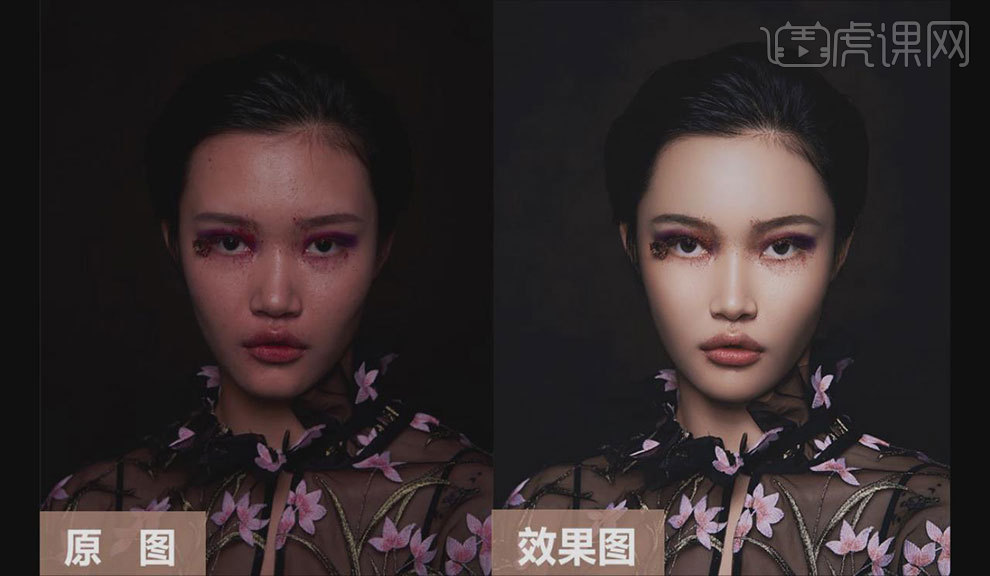
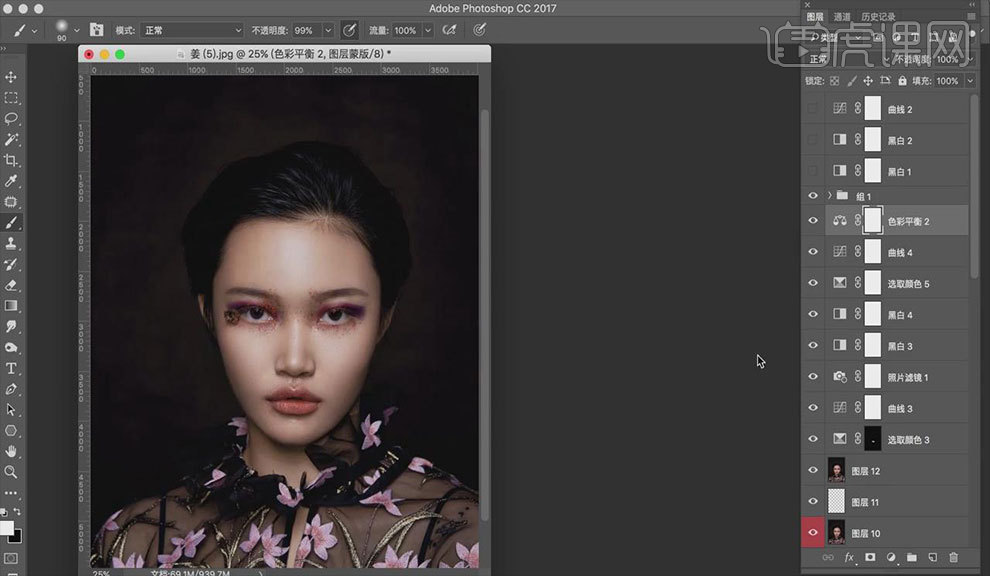 19.最终效果如图所示。