用PS和LR制作花海后期人像修图
发布时间:暂无
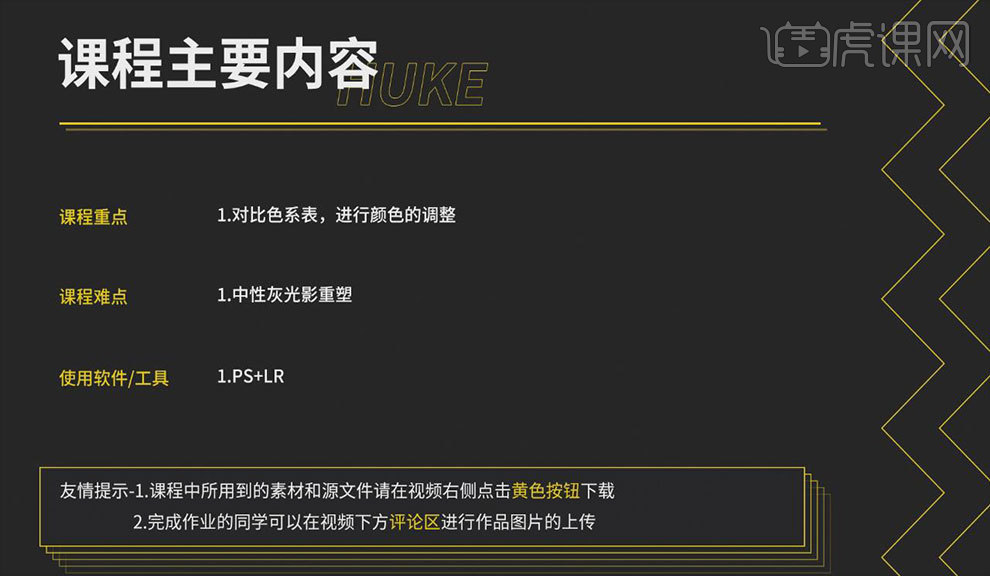
1.首先讲解本节课的主要内容。
 2.在lr中打开素材,在【配置文件】中勾选消除色差和启用配置文件校正选项,并添加【暗角】,效果如图所示。
 3.调整【色彩】,具体参数如图所示。
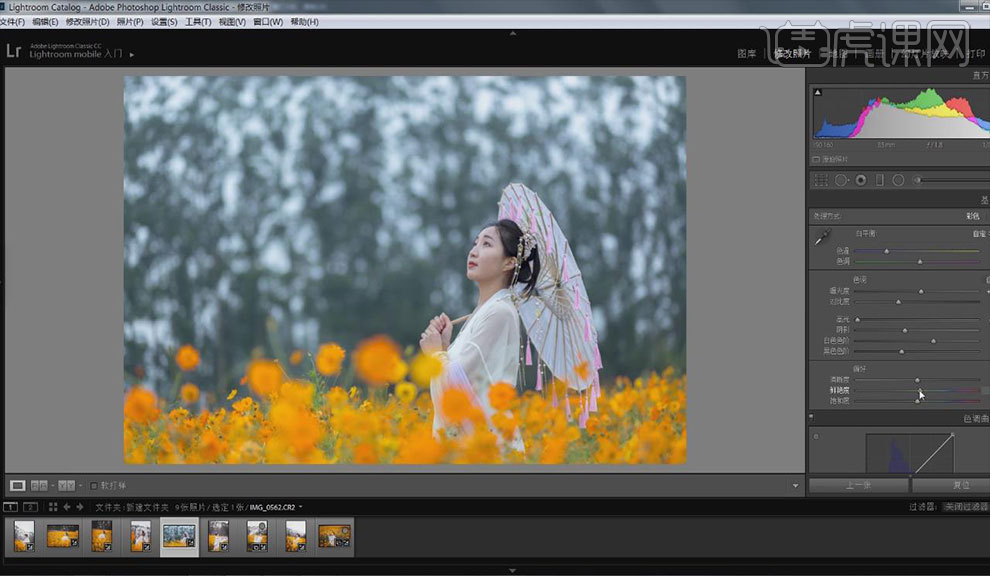 4.调整【曲线】,具体参数如图所示。
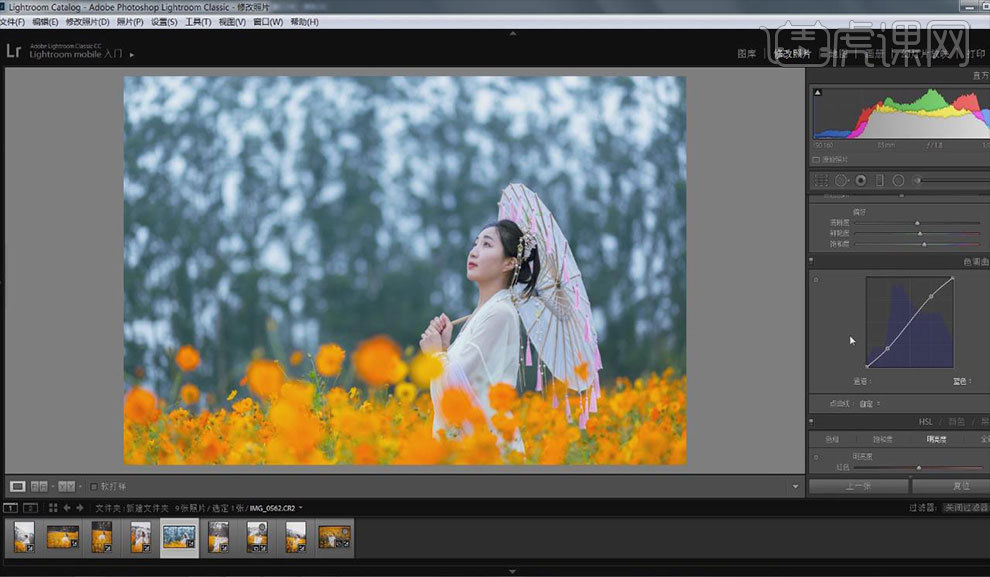 5.调整【色相】,具体参数如图所示。
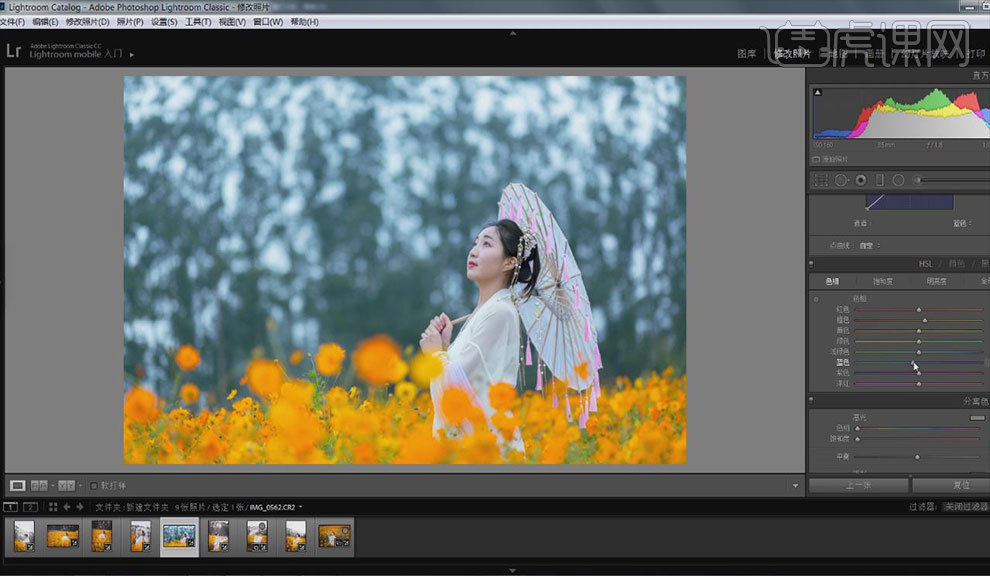 6.调整【饱和度】,具体参数如图所示。
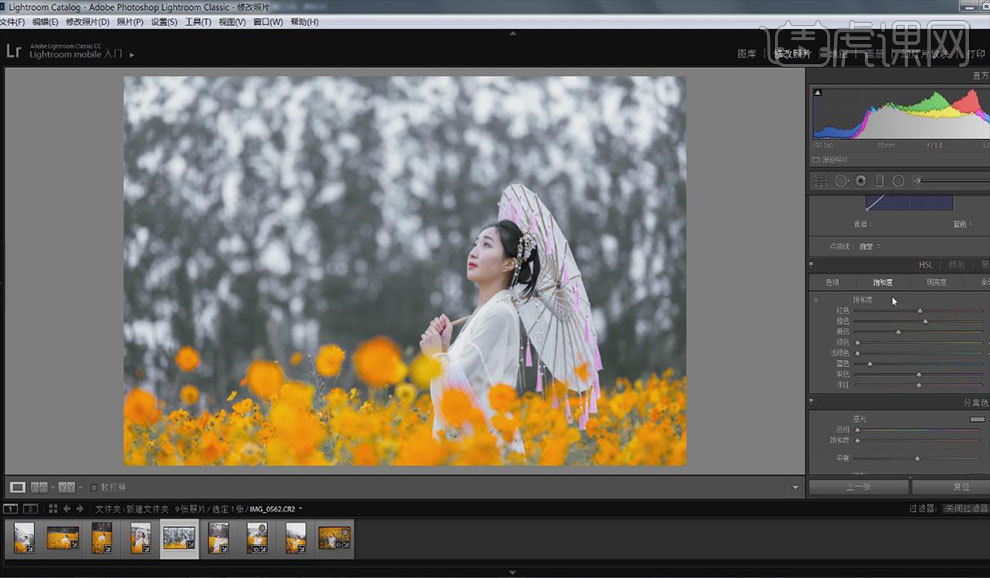 7.调整【明亮度】,具体参数如图所示。
 8.调整【分离色】,具体参数如图所示。
 9.调整【锐化】,按住Alt键调整蒙版数值,具体效果如图所示。
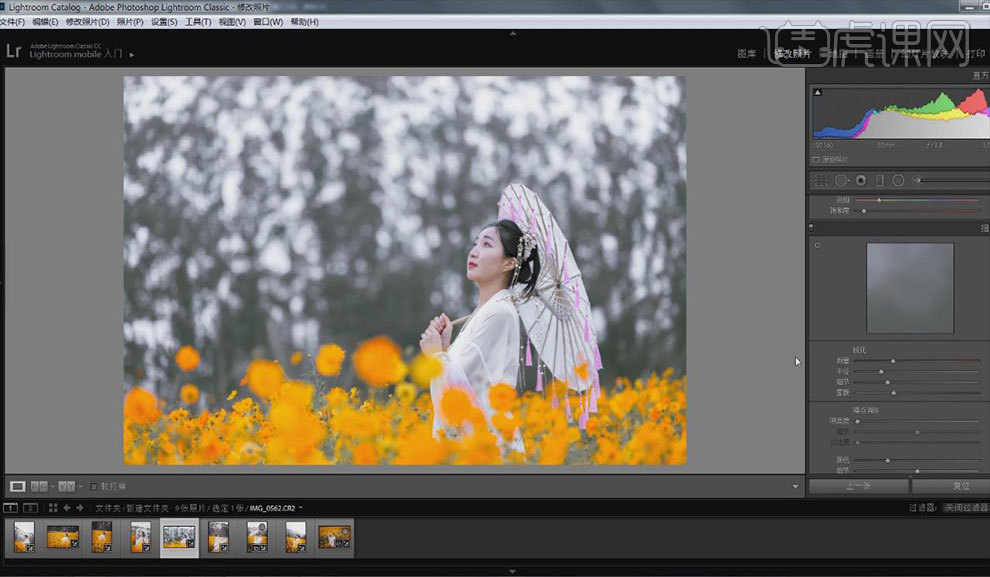 10.调整【相机校准】,具体参数如图所示。
 11.选择【镜头校准】中的手动,调整量的数值,去除紫边,效果如图所示。
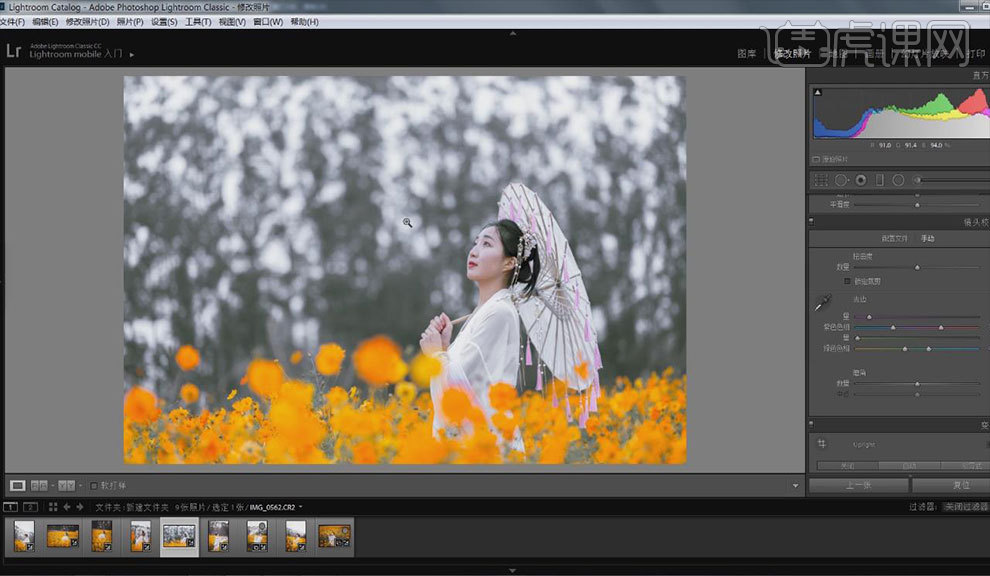 12.在PS中打开图片。按【Ctrl+J】复制一层,使用【修补工具】处理脸上的瑕疵。效果如图所示。
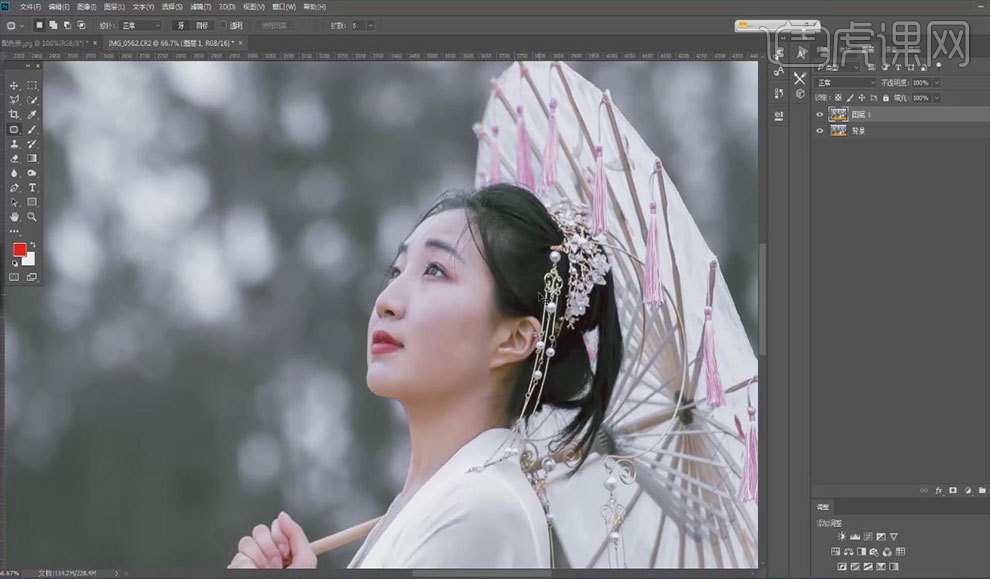 13.按【Ctrl+J】再复制一层,调整【可选颜色】,效果如图所示。
 14.按【Ctrl+Alt+Shift+E】盖印图层,使用滤镜插件进行调整,效果如图所示。
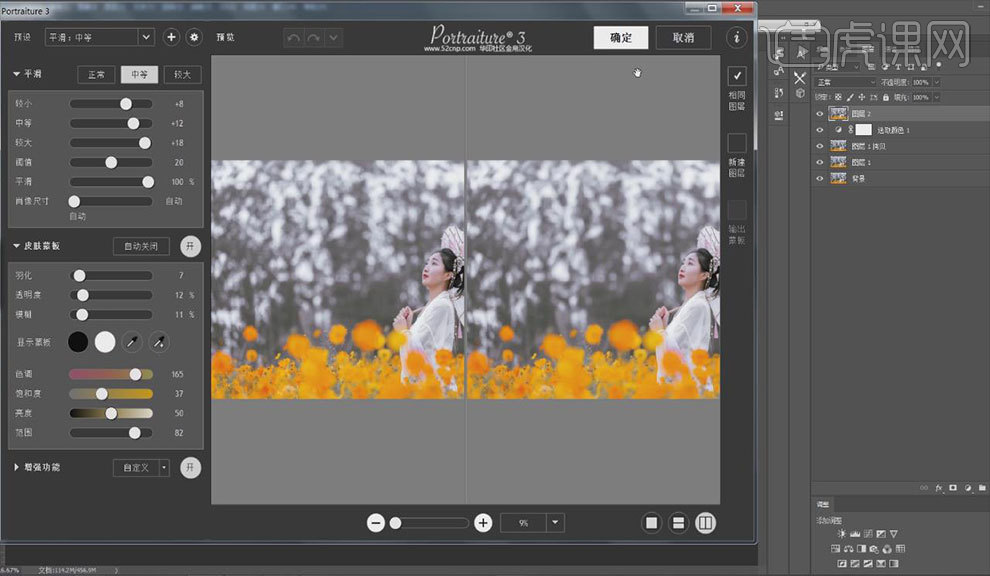 15.按住Alt添加黑色蒙版,用白色画笔擦拭皮肤,效果如图所示。
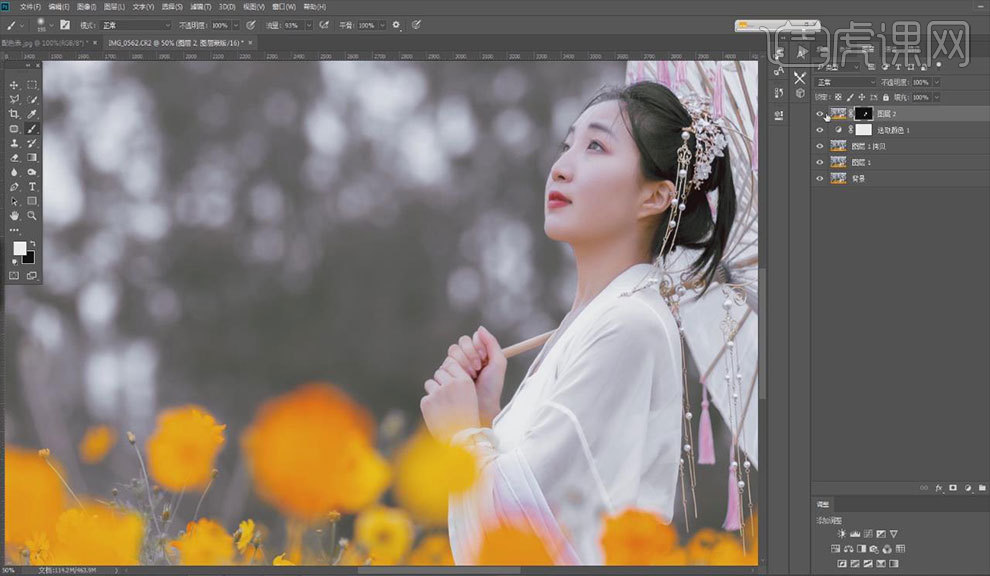 16.按【Ctrl+Alt+Shift+E】盖印图层,按【Ctrl+Shift+X】液化,对人物的面部和身体的部分进行形体的调整。点击【打开】,效果如图所示。
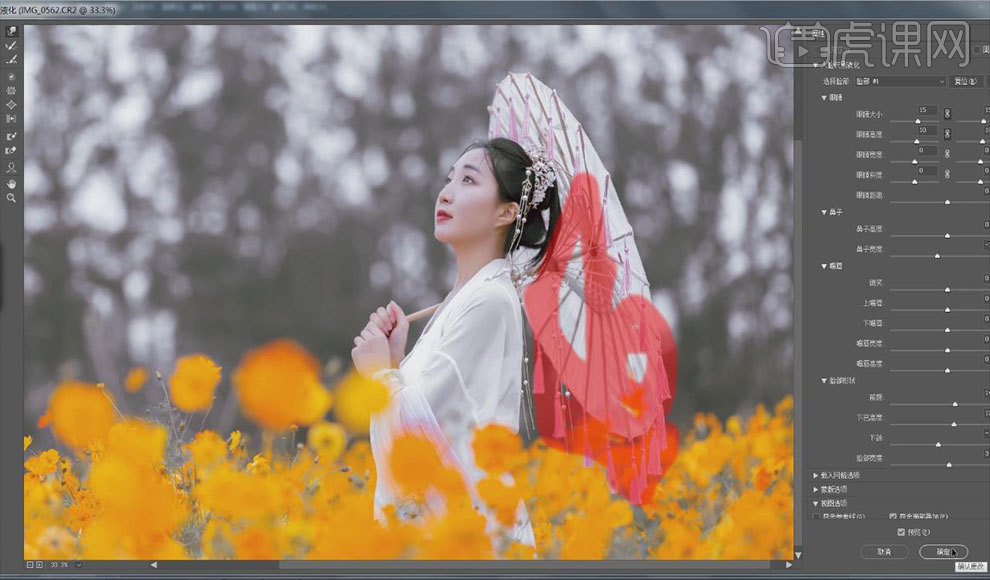 17.按【Ctrl+Shift+N】新建图层,模式为柔光,勾选【填充中性灰】,创建【曲线】,具体如图所示。
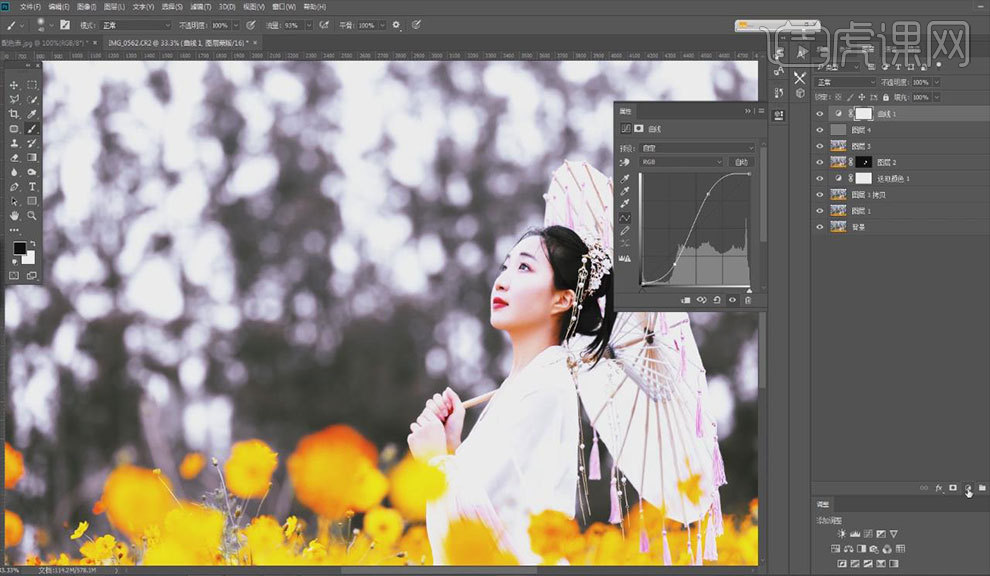
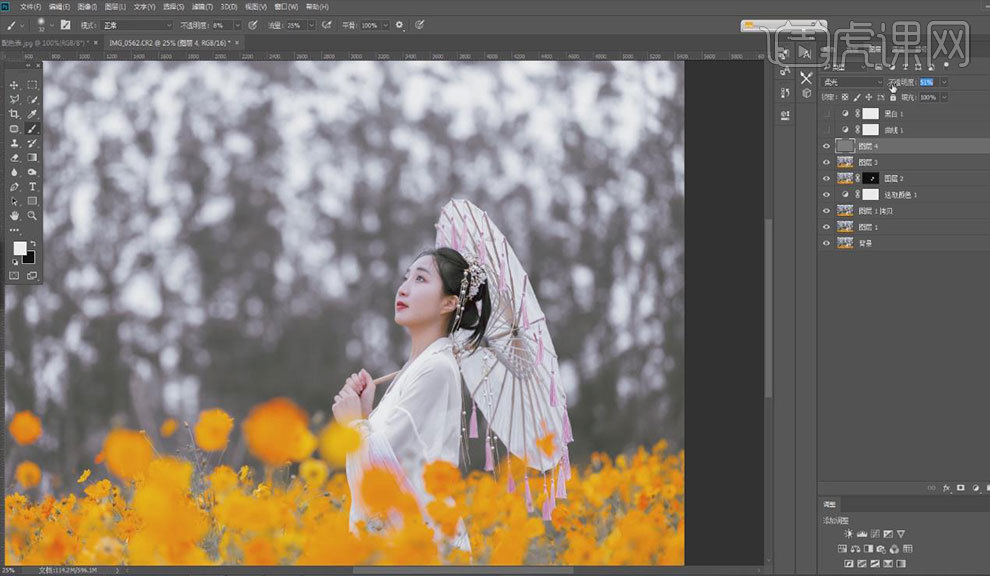
18.创建【黑白】图层,具体如图所示。

19.用【画笔工具】进行修正光影,并调整不透明度,效果如图所示。
 20.按【Ctrl+Alt+Shift+E】盖印图层,创建【可选颜色】对花的颜色进行调整,效果如图所示。
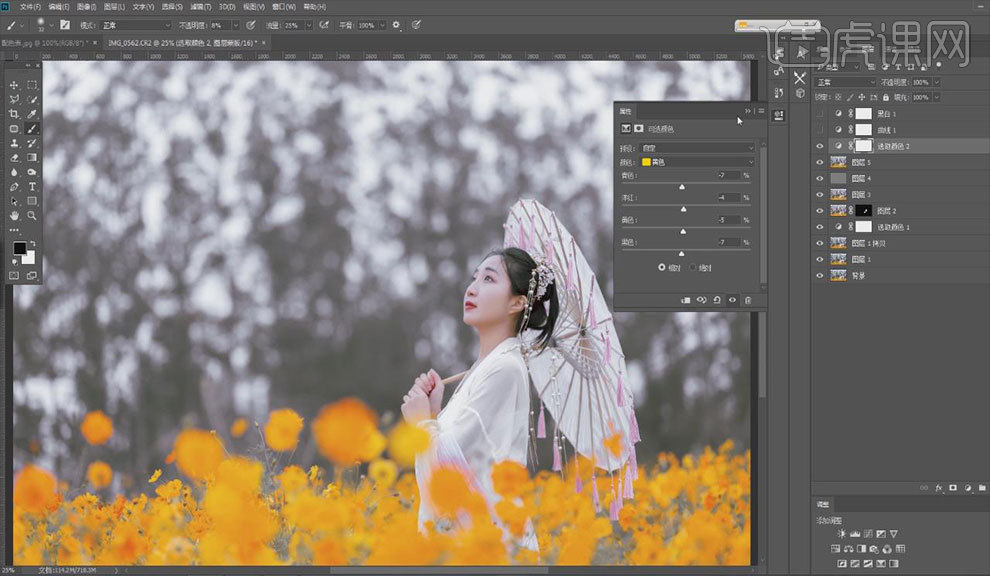 21.选择【滤镜】-【锐化】-【智能锐化】,效果如图所示。
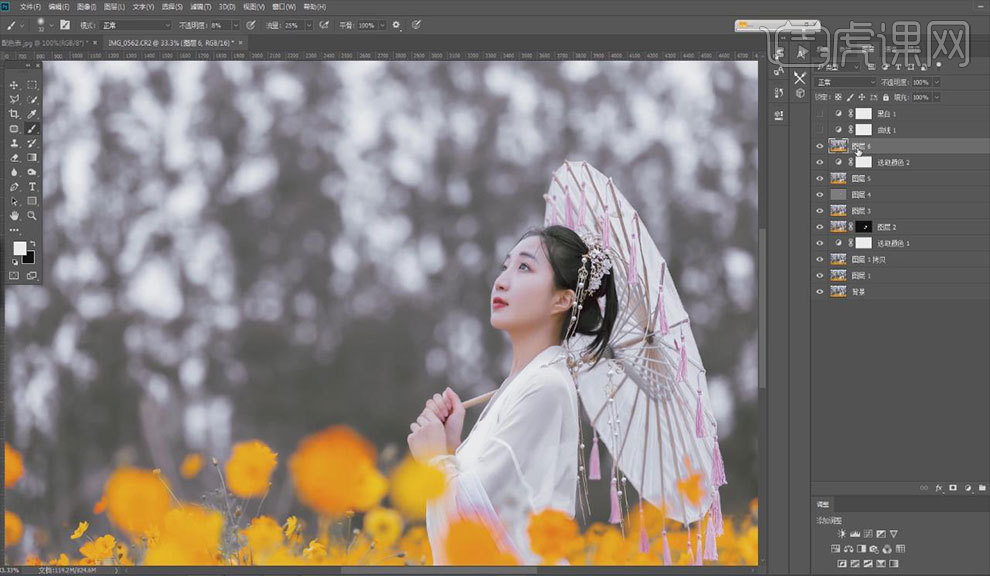
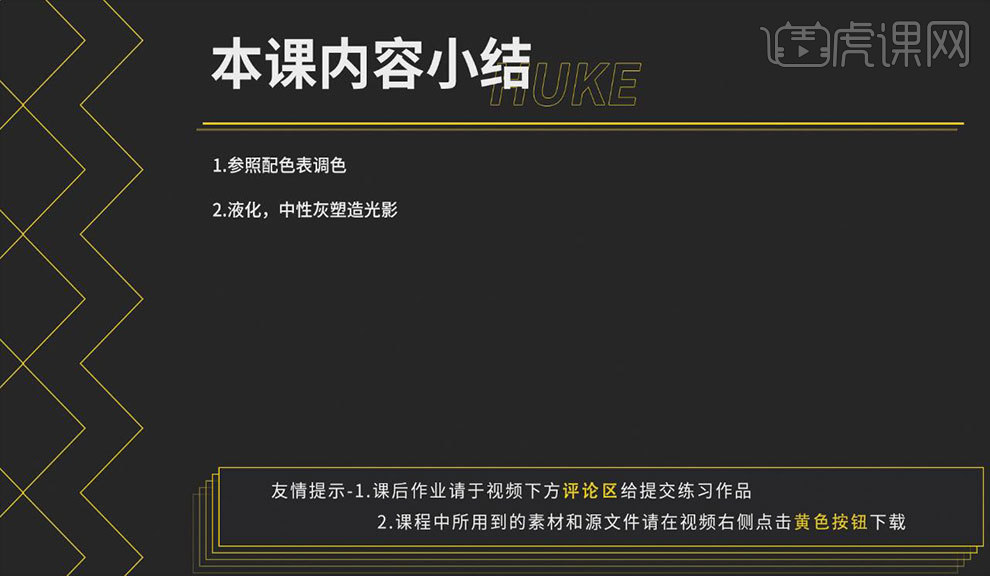
22.本课内容小结。
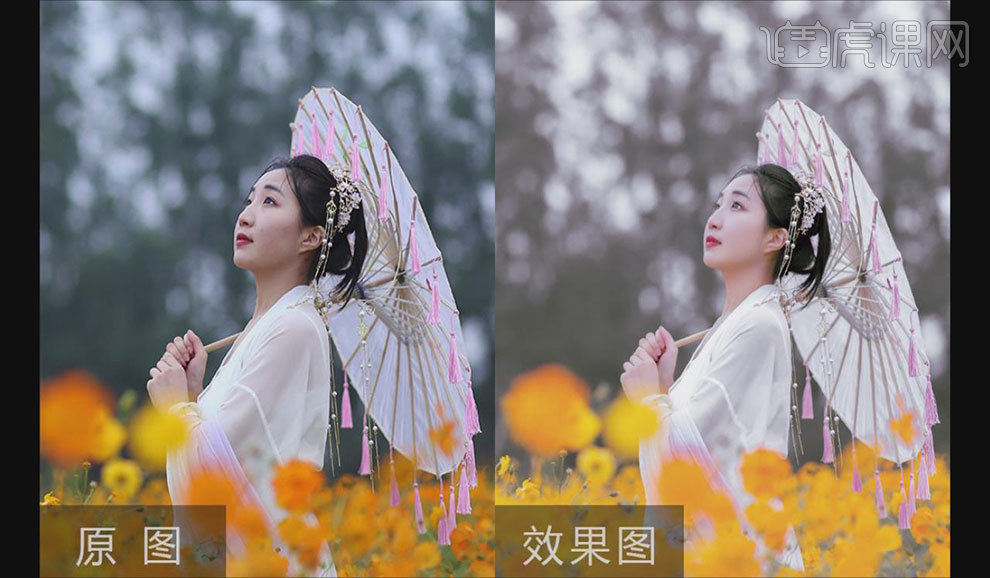
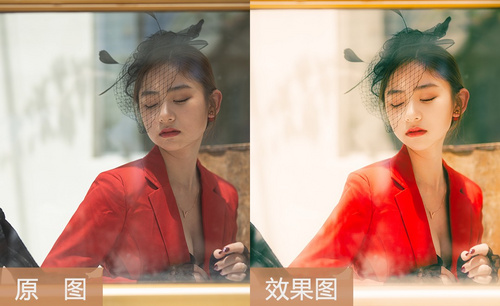
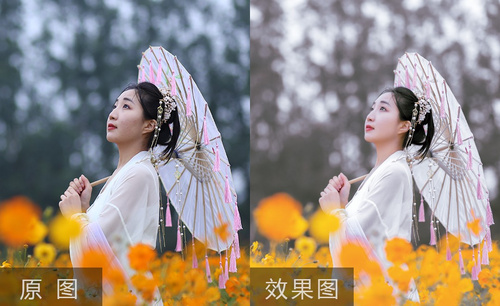
 23.最终效果如图所示。